How to Hang Pictures on the Wall: 7 Dos and Don’ts
Hanging pictures on the wall isn’t always as easy as it may seem. Whether it’s leaning too far to the left or right, or isn’t high enough or low enough, there’s always something to correct. For tips on getting it right the first time, read on. Here are seven things you should—and shouldn’t—do to hang pictures on the wall properly.
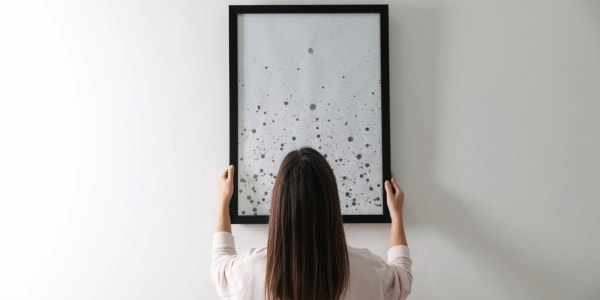
1. Do Hang Pictures at Eye Level.
What is eye level for hanging pictures? 57 inches from the floor, according to the experts. To make sure the center of your picture is positioned 57 inches from the floor, you’ll have to do some calculations.
- Measure the frame’s height, and divide by 2.
- In the back of the frame, find the hanging wire or sawtooth hanger. Pull taut. Measure the distance from the taut hanging wire (or sawtooth hanger) to the center of the picture.
- On your wall, measure 57 inches from the ground up, add the calculations from step 2, and hammer your nail there.
LEARN MORE: Top Tools Every Homeowner Should Have
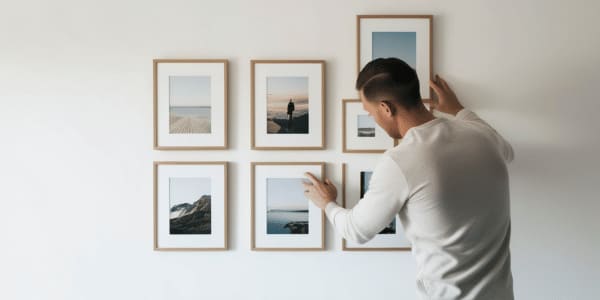
2. Don’t Eyeball Picture Placement.
By eyeballing picture placement, you risk hanging your wall art too low, too high, or at an odd angle. Always incorporate the 57-inch rule for mounting pictures and use a bubble level to hang them straight. A bubble level is a tool that looks like a ruler and has a bubble in the middle that indicates a line is level.
To confirm level picture placement:
- Stretch painter’s tape across the back of your picture frame, covering the hanging brackets.
- Using a pen, mark the center of each bracket.
- Remove the tape and place it on the wall where you want to hang your picture.
- Use a bubble level to make sure the tape is perfectly horizontal.
- Hammer nails directly through the tape.
- Remove the tape and hang your picture.
3. Do Find the Right Hanging Hardware for Your Picture Frame.
Lightweight picture frames call for easier solutions, while heavier frames require more weight-bearing hanging hardware. Here are just a few mounting hardware ideas:
- Adhesive strips: A great solution, adhesive strips allow a flat, flush finish and don’t damage walls. However, they shouldn’t carry more than 15-lb. frames.
- Picture hooks: Standard hooks, you can find a size that’s best suited for the weight of your frame.
- Wall anchors: Plastic expansion anchors, self-drilling anchors, and toggle bolts can be used in spots without a wall stud.
- Stud mount: Screw a nail directly into a wall stud for stronger support for heavier frames.
- French cleats: Best for large, heavy pieces, French cleats are interlocking brackets mounted to both the wall and frame.
- D-rings: Attach to a frame using a hanging wire for a secure hanging.
4. Don’t Use Push Pins to Hang a Picture on the Wall.
Although push pins are convenient, their wide plastic backing doesn’t allow for a flush finish. Instead of your wall art appearing flat, it hangs at an angle because the push pin pushes the top of the picture forward. Push pins can also make the frame unsteady and prone to falling.
Always use mounting hardware designed for hanging pictures on the wall, like picture hooks and wall anchors, for secure placement and a clean look.
5. Do Hang Pictures Above Furniture.
Whether it’s a statement photo, classic painting, or child’s artwork, framed pictures can complement the look and feel of any room. When placing a picture over furniture, the 57 rule doesn’t apply. For a balanced appearance, make sure the bottom of the picture frame is six to eight inches from the top of the furniture. Common furniture pieces that pair with artwork include:
- Sofa
- Bed
- Console table
- Mantle
- Accent table
- Piano
- Dresser
- Desk
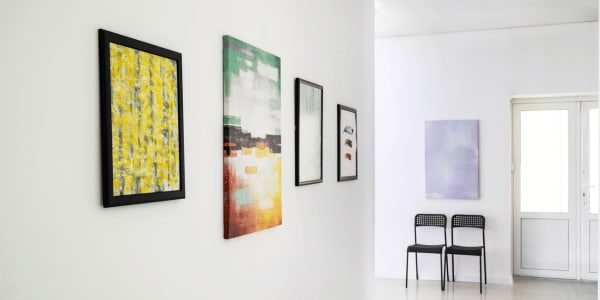
6. Don’t Lean Pictures On Unstable Surfaces.
Artwork doesn’t always have to be displayed on a wall. Sometimes, it can have the same dramatic effect as leaning against the wall from a flat surface. However, make sure the surface is secure, and the artwork's placement looks intentional. Whether your artwork is on a shelf, mantel, or table, inspect the legs or base to confirm it’s steady. If the furniture shakes or moves when touched or when walking nearby, opt for a different picture placement.
For your leaning picture to look purposeful, and not like something you forgot to hang, add decorative pieces that accentuate it. Think: a vase, sculpture, or lamp.
7. Do Consider Accents to Complement Hanging Pictures.
One picture on a blank wall can look lonely and drab. Add style and personality to the space by complementing your picture with focused décor. Here are some suggestions:
- More framed artwork
- Potted plants
- Wall sconces
- Decorative books
- Pottery
- Decorative framed mirrors
- Floor lamp
- Decorative branches
- Built-in shelving
- Wallpaper
- Macrame hangings
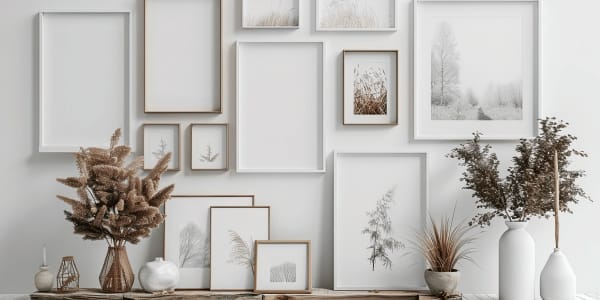
How to Create a Gallery Wall Like an Interior Designer
There’s a right way and a wrong way to hang pictures on a wall. With these tips, you know how to properly measure picture placement, level the frame, and find the correct mounting hardware. Now, you can use these insights to create the gallery wall of your dreams. Read “How to Create a Gallery Wall Like an Interior Designer” to learn the top gallery wall styles, gallery wall ideas, and how to create a gallery wall layout step by step.
FAQs
What is the rule for hanging pictures on the wall?
The top rule for hanging pictures on the wall is to make sure it’s not too high, too short, or leaning at an angle.
What is the tape trick for hanging pictures?
Stretch paint tape across the mounting brackets on your picture frame. Mark where the mounting brackets are on the tape, then tape the strip to the wall where you’ll hang the picture, and insert nails directly through the tape to ensure proper placement.
How do you hang unframed pictures?
To hang unframed pictures on a wall, you can use double-sided adhesive, push pins, or tape, depending on the size and weight of your picture.
What is the 57 rule for hanging pictures?
The center of your picture must hang 57 inches from the floor to be at proper eye level.